A new driveway adds convenience and curb appeal to any home. This driveway installation guide discusses the four most popular material options. It will help you design your drive and stay within budget.
New driveway installation
1. Driveway dimensional requirements
2. Tips on driveway design
3. Driveway site planning and permits
4. Material options – pros, cons and costs
5. Driveway installation timeline
Driveway Dimensional Requirements
How big should the driveway be? How big is too big? During the planning stage, it is important to know the minimum and maximum driveway width rules for your local area.
Dimensions vary by county, but Maricopa County, AZ code is a good example:
“Driveway width shall be 12’ minimum and 24’ maximum. Circular driveways for single family residential units shall have in the right of way a minimum width of 12 feet and a maximum width of 16 feet with appropriate flared connections”
This information is usually available on the country website or at the county offices.
By the way, the right of way is the area along the road reserved for utilities such as wiring and pipe.
If you haven’t built the home yet, then driveway length is also a consideration. Most counties do not specify minimum length.
Most cars need about 18 feet minimum, but 22-24 feet is better for today’s full-size pickup trucks. Even if you drive a compact car, keep your home’s resale in mind and lengthen the driveway to at least 24 feet.
Flares are triangular areas where the driveway meets the road. They broaden the width to reduce the sharpness of the turn into the drive.
Most counties allow flares that extend beyond the maximum driveway width and specify their dimensions. Ottawa County, MI states, “Each flare shall be ten (10) feet in length and extend five (5) from the driveway along the road edge.”
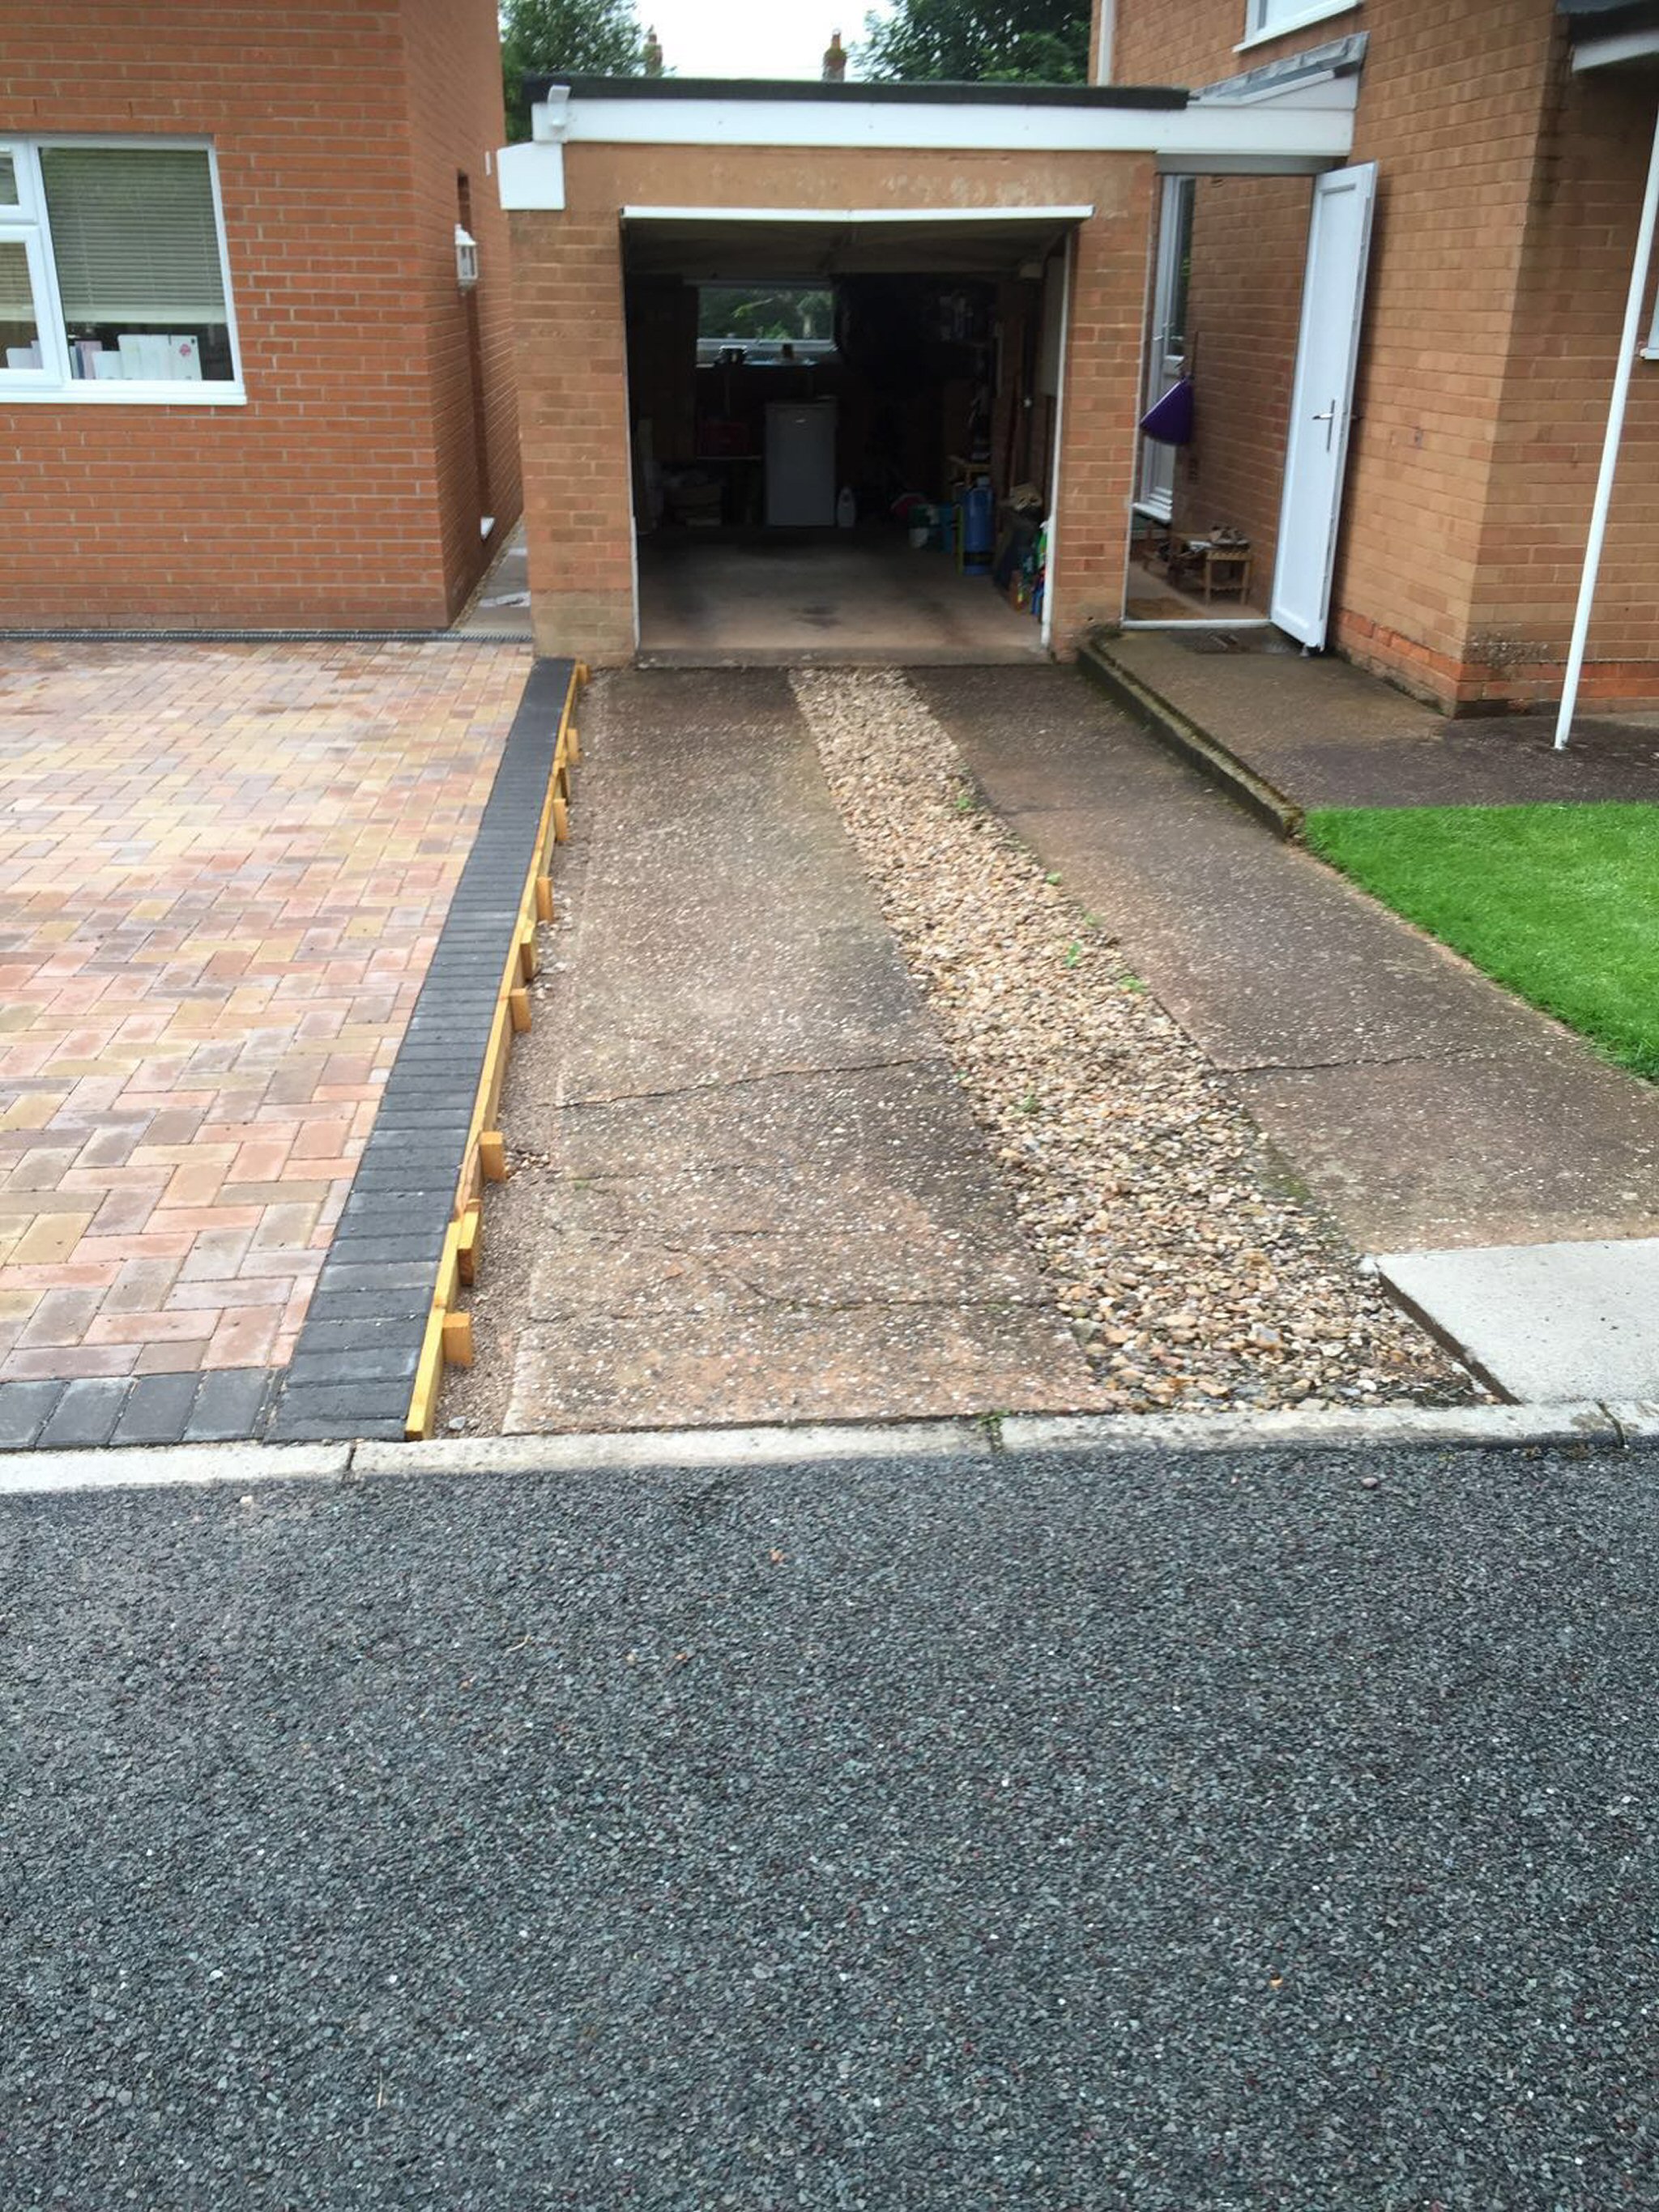
Driveway Design Tips
Driveway design combination of concrete and pavers
Now that you know the basics of what is required in your county, you can get down to planning a functional and visually appealing driveway.
Width: There’s more to width than meeting local requirements.
You might want to add a few extra feet to your design, while staying within the rules, for walk-around room when exiting a vehicle. It might also prevent vehicle damage from opening car doors or when a child squeezes between two parked cars on a bicycle.
Curves: Many homeowners choose a straight driveway since it is the shortest distance between the road and the garage, and that means lower cost and less driveway to maintain.
However, you might want to consider a driveway with some curve in it. Curves provide character, especially to longer drives. A curve or two might be necessary to get around large trees or landscape features such as a pond or wet area.
Curves and switchbacks can be used to offset steep slope in the property, since slope can create slippery conditions on a wet or icy paved drive. Driveway slope should be 15 degrees (rising 15 feet per 100 feet of drive) or less, and curves can help you meet that goal.
A circular drive is the ultimate curve. Typically a spur goes to the garage while the rest of the drive wraps around and back to the road. A circular driveway accentuates an impressive front entryway and provides convenient access for guests.
If you choose a circular drive, consider making it wide enough for vehicles to pass cars parked on it. This is especially handy when entertaining. Guests will be able to leave without having to ask others to move their vehicles – or driving on the lawn to get around them!
Design expert Michael Franco makes sense when talking about driveway curves. “If you do decide on a curved driveway, the curves should be gradual and sweeping, never tight and cramped.”
Add a parking/turn-around area. Have you seen yards with dirt areas where the lawn is used for parking? It’s not pretty. Installing an area near the garage for extra parking is a common driveway design feature. Popular parking area sizes are 10×18 to 20×24 feet.
Check local codes for size requirements and whether they are allowed.
Gardening blogger Monique Allen says, “Adding guest parking to your driveway design helps ensure you’ll have plenty of appropriate parking space while keeping your landscape in good shape.”
This area can also be used as a turn-around, so you can drive out forward. This is vital when your home is on a busy street, and backing into traffic would be dangerous.
Driveway Site Planning and Permits
Now it’s time to get permission to install the driveway you’ve designed.
Getting a permit: A permit application must be completed and approved by county officials. The permit fee is $100-$200 in most counties. You might also have to provide a refundable bond of up to $500 against possible damage done to utilities in the right of way. The county will want a certificate of property insurance too.
The planned driveway must be staked, so the inspector can evaluate its location. If you’re hiring a driveway installer, they’ll handle this step.
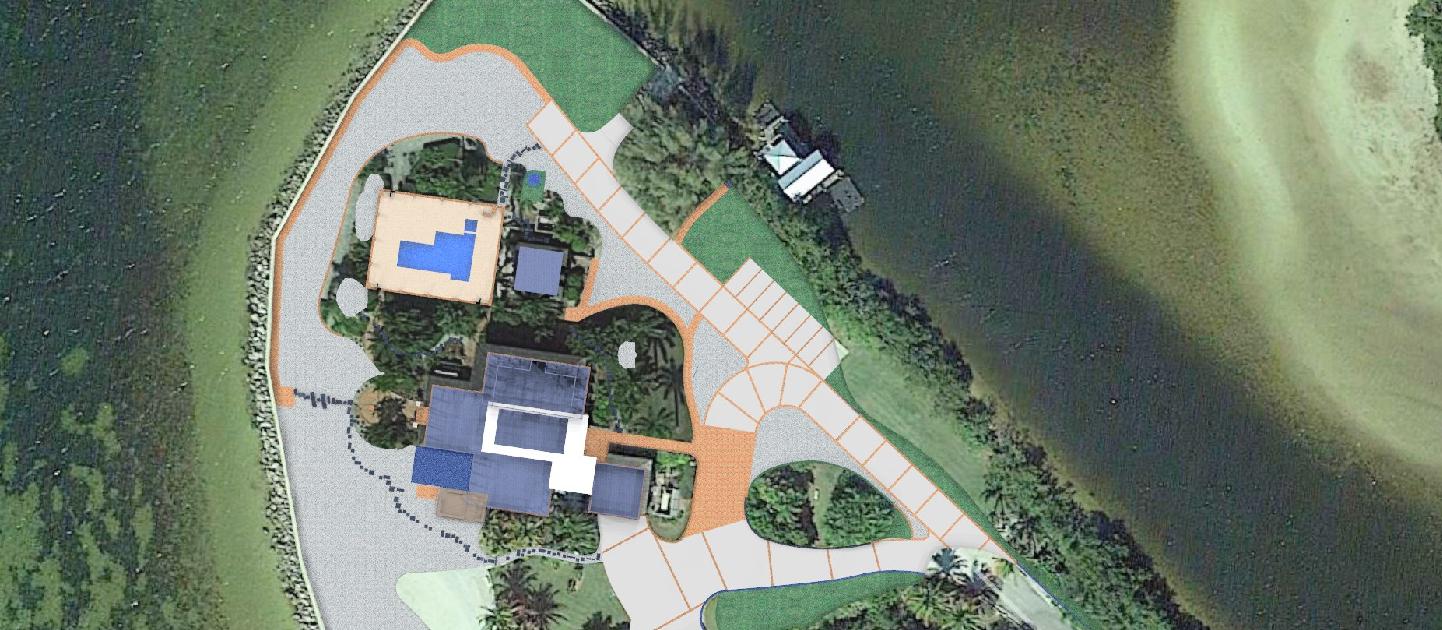
Site plan: You will need to submit a site plan with your application.

site plan
A driveway site plan is a drawing that shows what is on the property and where the driveway will be. Maricopa County’s list of what must be on the site plan provides a good example:
- Distance between the property line and edge of driveway
- Distance from edge of roadway pavement to the property line
- Driveway width
- Type and size of connecting flare (if any)
- Proposed pavement material
- North arrow
- Proposed Drainage: Valley gutter or culvert.
While some counties accept hand-drawn site plans, for clarity and accuracy they prefer plans professionally created with design software.
Pro tip: Save money on a professional site plan. A site plan for a driveway is quite simple to create. Cost will be $100 or less when you hire a site plan specialist like 24H Plans. Hiring an engineer or landscape architect for the work typically costs $300-$500.
Approval: The county will review your application. An inspector will visit the property to check that the staked drive meets all requirements and is accurately represented on the site plan.
The inspector will ensure that the driveway can be safely entered and exited. This is a concern when the roadway is sloped or curved and might necessitate moving the driveway location to improve visibility as drivers approach the driveway.
If all requirements are met and the drive is safely located, the driveway permit will be issued.
Driveway Materials: Pros, Cons and Cost
Once the planning steps have been successfully taken, it’s time to build a driveway!
The groundwork is the same for all driveway types.
- The turf and topsoil are removed to a depth of 8-12 inches.
- Any low spots are filled before the installation of the base driveway layer.
- When trees are removed, the entire root is dug up, and the whole filled. Failing to do this will cause the ground to settle in years to come. Settling ground is the leading cause of sunken, cracked concrete and asphalt.
- If there’s a ditch along the road, the county or your driveway contractor will install a culvert in the ditch for water flow. Your county will have requirements on the length and diameter of the steel culvert. The culvert is then covered with gravel to make the area level with the driveway bed.
- Six to eight inches of sand, gravel and/or stone are installed and compacted as a base layer for the driveway. The materials used are chosen based on local climate and availability, installer preference and the type of finish material being used.
- When the base is properly prepared, the driveway material is installed and finished with the appropriate slope for drainage.
Pro tip: Consider laying 3” heavy-gauge PVC pipe across the driveway bed at strategic locations before the base layer is installed. Cap the pipes on both ends to keep out debris and insects.
Then, if you want to add lighting on both sides of the drive or install an inground sprinkler system, the PVC pipes will be conduits for running wire or water line. That’s easier and cheaper than having to trench beneath a driveway.
Here are popular driveway materials with pros, cons and cost. A summary table follows.
| Type | Cost per sq. ft. |
| Gravel | $1.75 – $2.85 |
| Asphalt | $2.25 – $3.50 |
| Concrete | $4.85 – $7.25 |
| Pavers | $12.00 – $20.00 |
Gravel or Stone
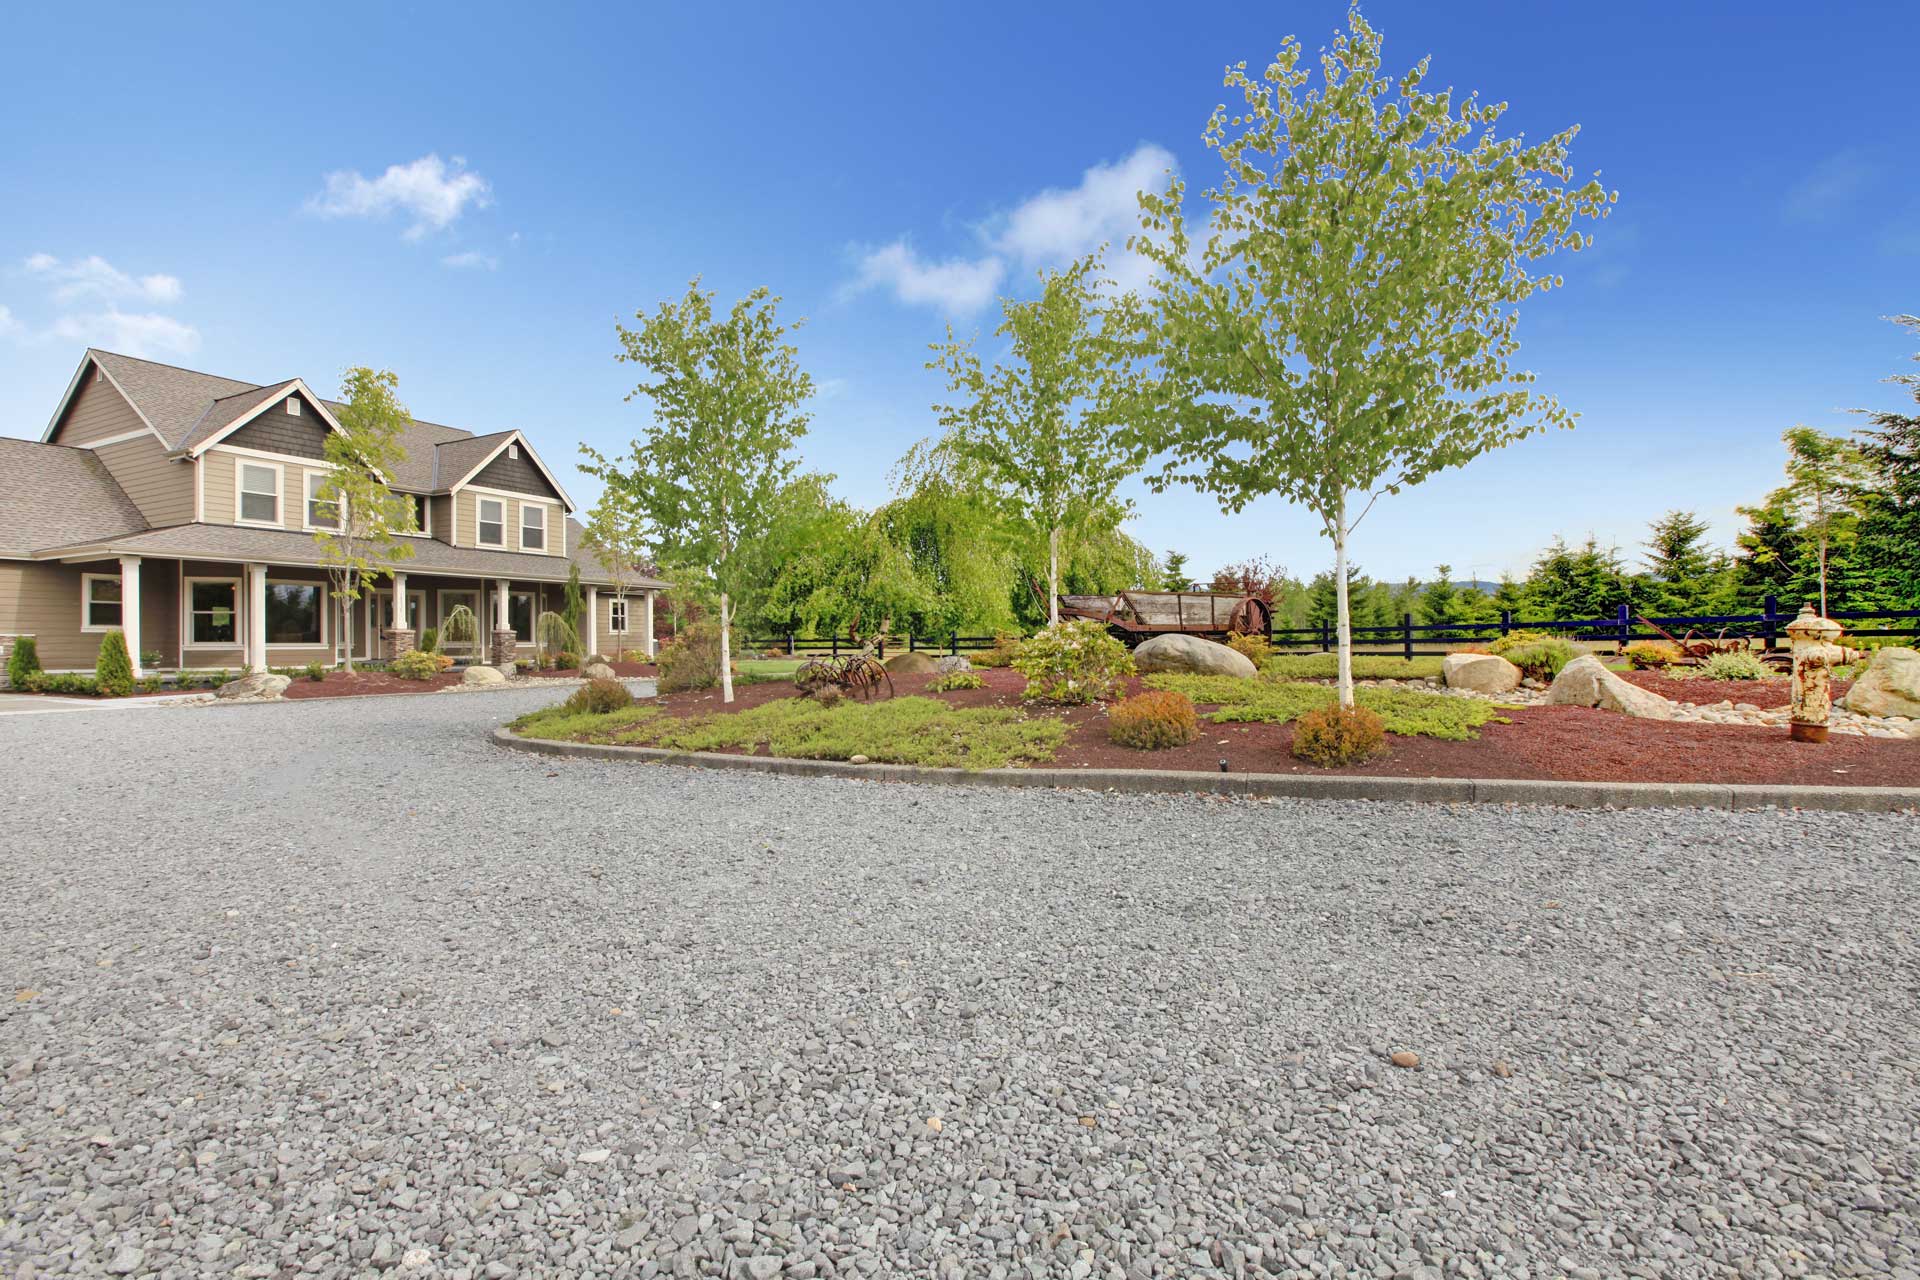
Gravel driveway
To create a gravel driveway, the base is installed as explained above. Several additional inches of gravel are spread, graded and compacted. A stone driveway is a gravel drive with a top layer of 2” to 3” of stone. Pea stone, crushed stone and other regionally available stone is used.
Pros: This is the most affordable driveway material. With occasional grading and the addition of a few inches of fresh gravel or stone, its appearance is renewed. The driveway will last indefinitely. You won’t have to eventually tear it out and start fresh, as you do with concrete and asphalt driveways.
If at some point you want to upgrade, the gravel makes an excellent base layer for other materials. It handles freeze/thaw cycles much better than concrete and asphalt. Gravel and stone have a rustic appeal.
Cons: Rustic charm is nice in rural areas, but gravel is out of place in many neighborhoods. If your neighbors have concrete, asphalt or paver drives, a gravel or stone driveway will hurt your home’s value and make it difficult to sell. In heavy rains on slopes, these materials can be washed out leaving deep ruts that must be filled.
During very dry weather driving on gravel can raise dust, and that dust might settle on your cars or home. Snow can be more difficult to shovel off stone and gravel than off smooth materials. The occasional weed will grow in the gravel or grass from the lawn might encroach.
Cost: $1.75 – $2.85 per square foot. Cost factors are the depth of the driveway and the specific materials used.
Pro tips: Most communities allow gravel driveways, but some do not. Find out if yours does before you get too far into the planning phase. Even if your county allows them, a Homeowners Association might forbid them. If you’re in an HOA, check its guidelines for permissible materials.
Asphalt
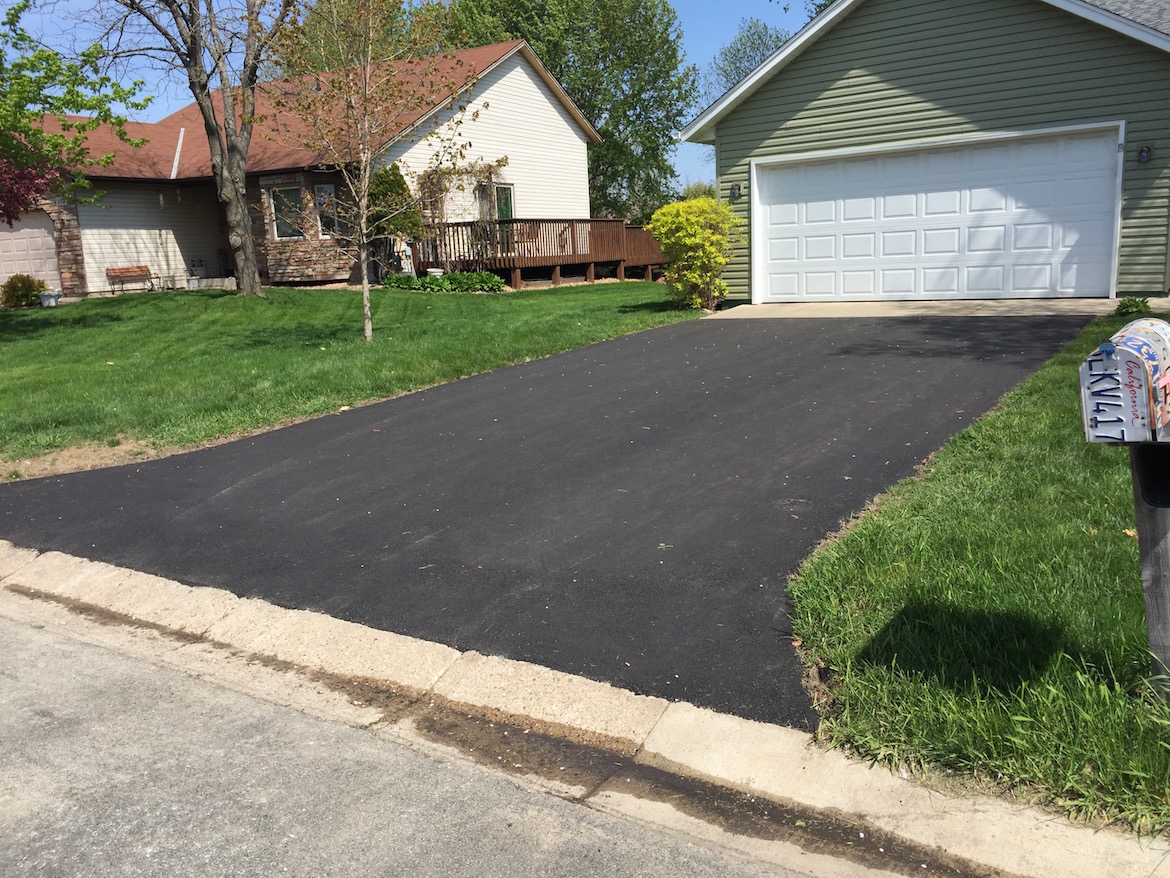
Asphalt driveway
Asphalt is one of the most common materials in cold climates. It is used less in warm climates because it softens in heat. This makes it susceptible to tire tread marks, kick-stand holes and similar damage. An asphalt driveway is 3” of asphalt installed over the base layer of sand/gravel.
Pros: An asphalt driveway provides a good combination of affordability, durability and curb appeal. With basic maintenance, an asphalt driveway will last 40+ years. When superficial cracks become prominent, a fresh layer of asphalt 1” to 2” thick can be added to refresh its appearance.
Sealcoating an asphalt driveway costs 25 to 50 cents per square foot – less for DIY sealcoating. Asphalt handles hard winters better than concrete, though not as well as gravel or pavers. In cold climates, its black surface absorbs heat to help melt snow and ice. Asphalt is recyclable.
Cons: Asphalt costs more than gravel and doesn’t last as long. We mentioned the need for sealcoating and potential damage in hot weather. Asphalt will eventually crack, and those cracks must be filled. When maintenance is neglected, an asphalt drive deteriorates in less than 15 years to the point replacement is the only option.
Cost: A new asphalt driveway costs $2.25-$3.50 per square foot. Factors include the depth of the asphalt and the mix used. Removing an asphalt driveway at the end of its life currently costs $1.35-$2.15 per square foot.
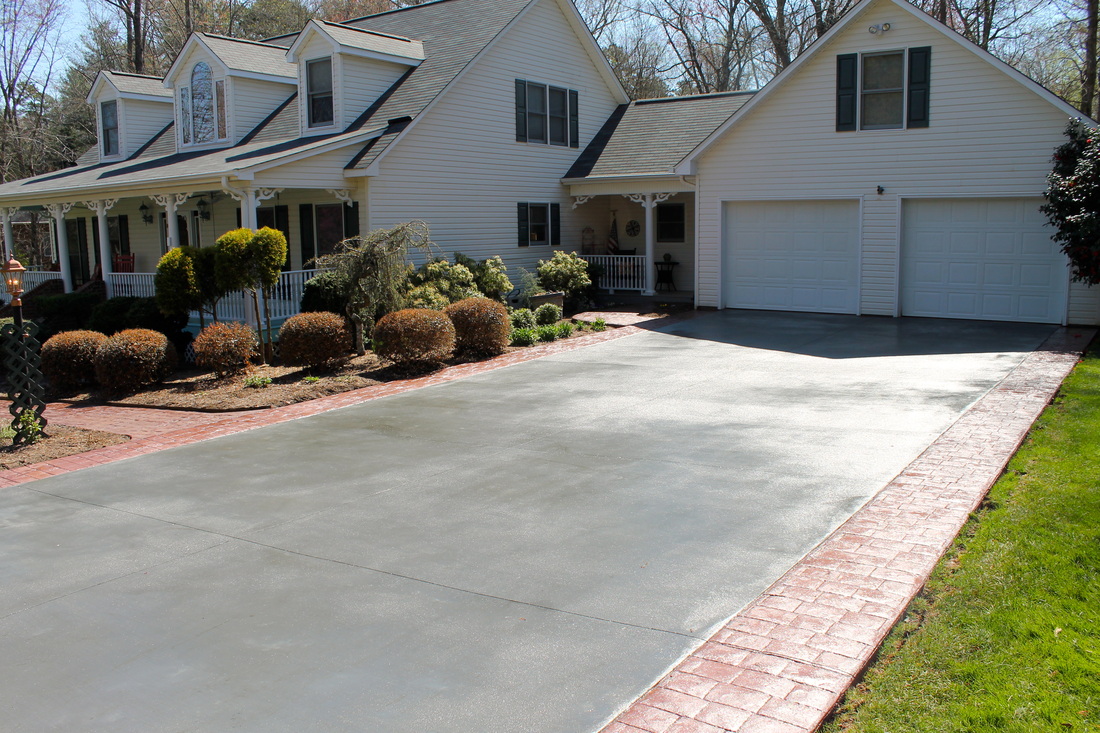
Concrete

Concrete driveway
This material is used everywhere, but it is especially suited to warm and wet climates. It is often avoided where winter weather drops into the freezing range because freeze and thaw cycles cause spalling and cracks.
Most concrete driveways have 4” of concrete over the sand and gravel base. The concrete may be reinforced with heavy a heavy wire mesh.
Pros: Concrete is durable and handles weight very well. A fresh concrete drive delivers curb appeal, and with regular maintenance, it will keep its good looks for 20+ years.
Concrete gives you design options. It can be stamped to look like pavers or stone. It can be stained to resemble granite or slate. Concrete can also be pigmented with a wide spectrum of colors.
Cons: The cost is higher than asphalt; much higher than gravel. If not maintained, spalling and cracks will develop that significantly shorten its lifespan. Maintenance involves sealing the driveway every 3-6 years at a cost of $1.25-$2.00 per square foot.
Concrete sinks at times, and the cost of raising or replacing a section of concrete is higher than the original cost. The material cannot be resurfaced like gravel and asphalt.
Cost: The cost of a concrete driveway is $4.85-$7.25 without enhancement. Stamping costs $2.50-$4.50 per square foot. Staining and pigmenting add $.75-$1.50 per square foot. The current cost of removing a concrete driveway is $5-$7 per square foot.
Cost factors, besides enhancements, include the strength and thickness of the concrete. Most use 3,500-4,000 psi concrete 4” thick. When heavy equipment will be driven on it, 6” of concrete and/or concrete up to 6,000 psi might be used.
Pavers
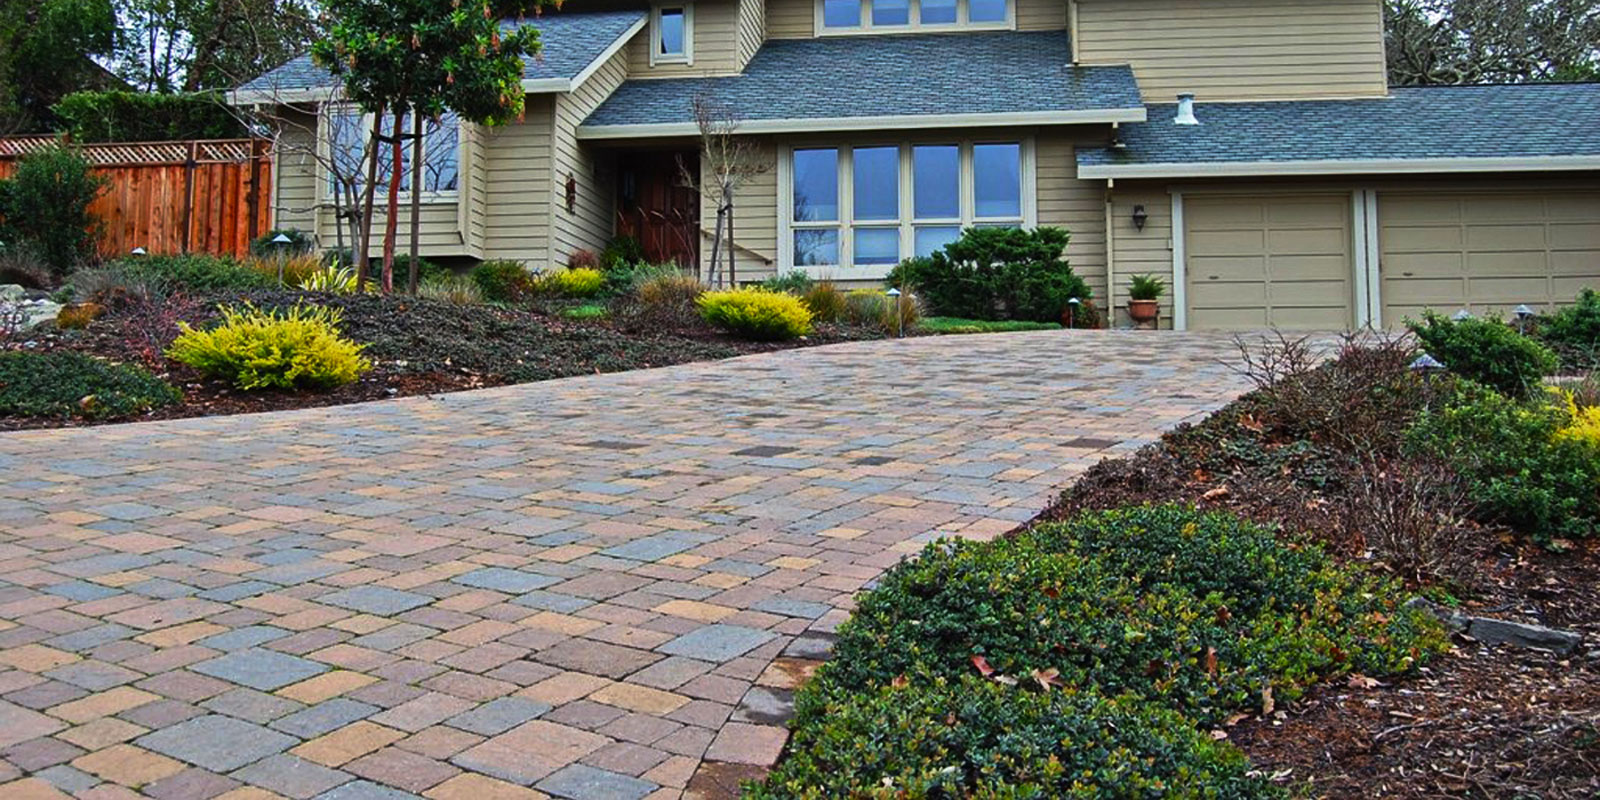
Pavers Driveway
Driveway pavers are made from a concrete mix poured into forms. Your options include a wide range of shapes, sizes and colors. The pavers are installed on top of the graded and compacted base layer. Slag or sand is poured over the pavers and swept into the cracks for fill.
Pros: Paver stones produce an elegant driveway. They give a creative homeowner or installer the opportunity to customize the look of their driveway with designs or the use of multiple paver styles and colors. A driveway constructed with pavers will last hundreds of years.
Cons: Cost is the major hindrance. You might also have to replace a cracked paver from time to time. Vegetation can take root in spaces between pavers.
Cost: A paver stone driveway costs $9-$17 per square foot due to the labor-intensive work of laying each paver individually. The DIY approach will save 60% to 75% of the cost, but it is challenging work. Factors include the type of pavers used and whether the pavers are arranged to create a custom design.
Driveway Installation Timeline
A 1,000 square foot (20’x50’) driveway takes 1-3 days to install when it is gravel, asphalt or concrete. Delays can be caused by inclement weather or scheduling problems with the delivery of equipment or materials.
A 1,000 square foot paver driveway takes 3-6 days to install based on the size of the crew and the complexity of the design.
Note: Here’s how we can help: 24hplans has team of highly-trained, professional architects and drafters who can prepare any kind of site plan in the shortest amount of time possible, so that you can easily obtain that building permit and get on with your project. Use the promotion code: 24hplans-20off to get a 20% discount off any package. — Please note this is a limited time offer, exclusive to the readers of our blog. This offer is not being advertised anywhere else.

Leave A Comment